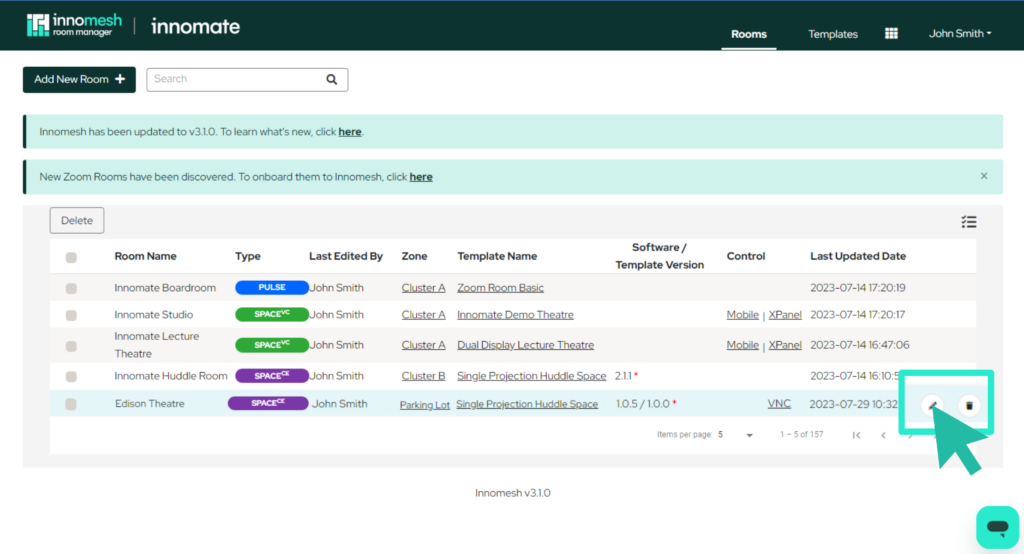
In order to access room editing, log into Innomesh Room Manager and hover over the desired Space CE Room. When hovering, a pencil and a trash icon will appear. The pencil icon will allow you to edit the Space CE Room.
Click on the pencil icon.
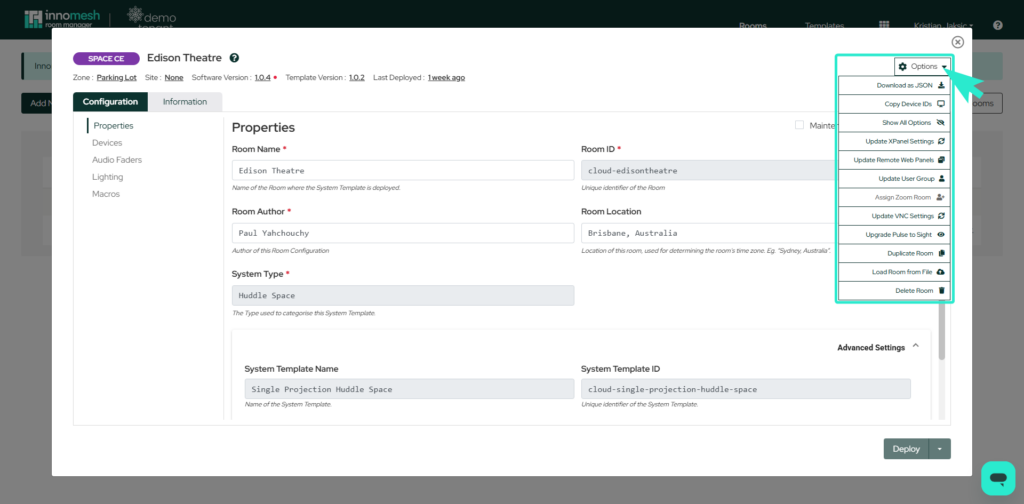
A pop up window will now appear, showing the Space CE Room configuration.

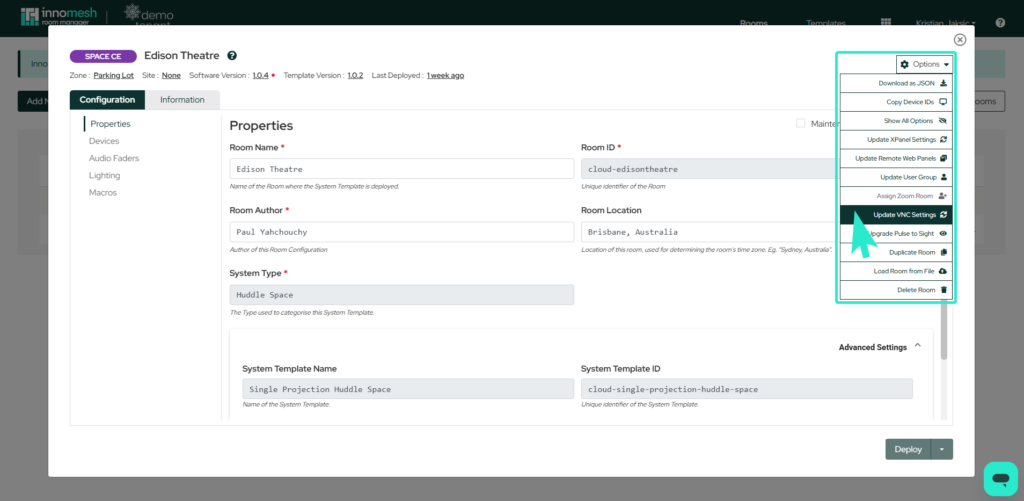
Options Menu
Hovering over the “Options” button on the top right hand side of the pop up window will reveal a drop down menu.
Download as JSON
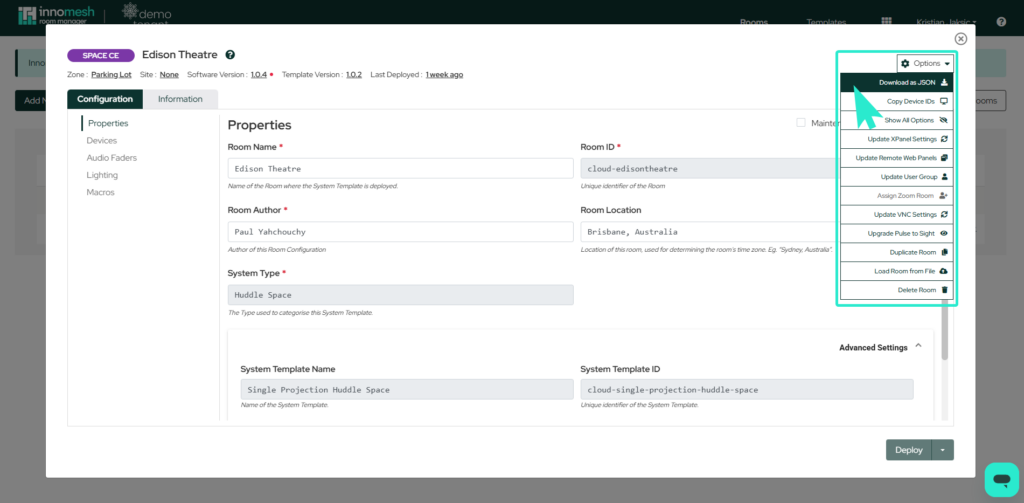
Clicking on “Download as JSON” will save the Space CE Room configuration as a JSON file.
Copy Device IDs
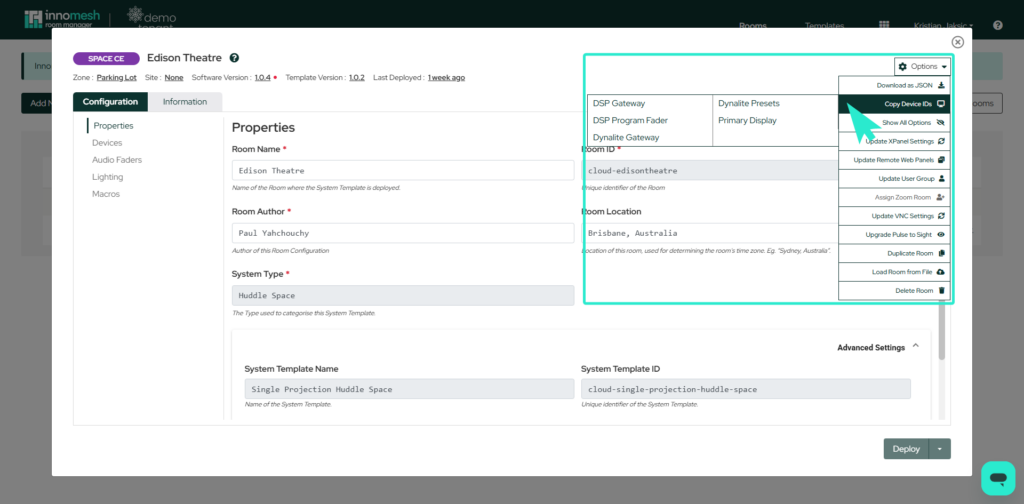
Hovering over “Copy Device IDs” will show a pop up table containing the devices associated with the Space CE Room.
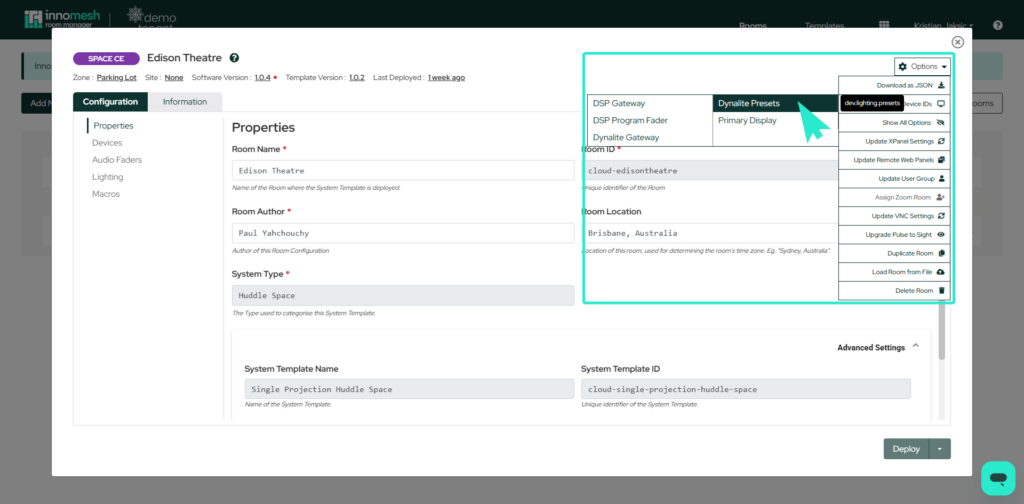
Hovering over each device will reveal a pop up with the device ID. Clicking on each device will copy the appropriate device ID on to the clipboard.
This is useful when needing a device ID when editing the configuration of the Space CE Room.
Show All Options
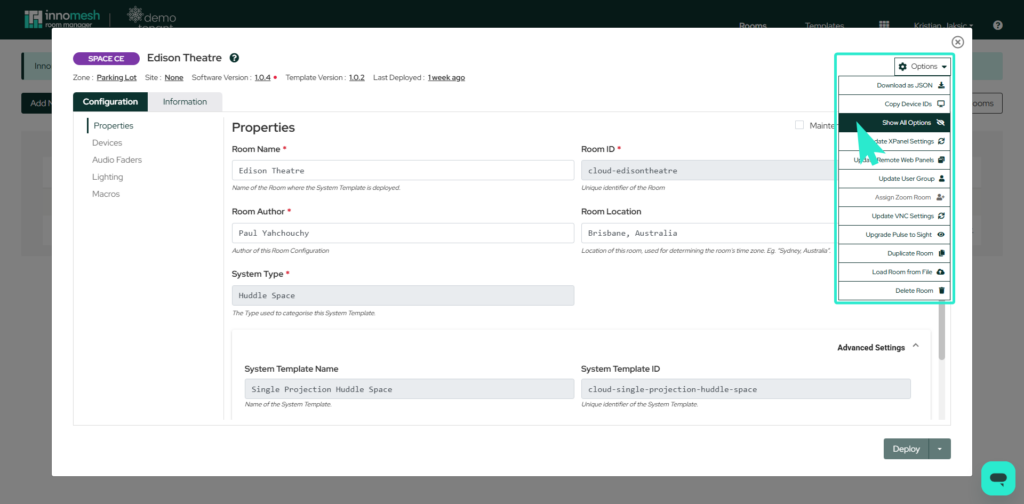
Clicking on “Show All Options” will bring up a pop up window.
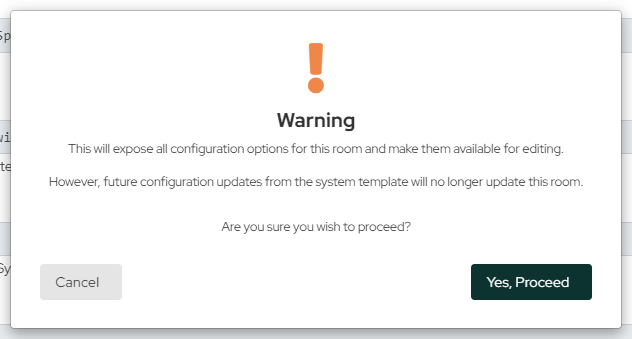
Proceeding with this setting will allow the user to access and edit all configurations for the Space CE Room.
Another pop up and more configuration options will be available when “Yes, Proceed” is clicked, as shown below.

Update XPanel Settings
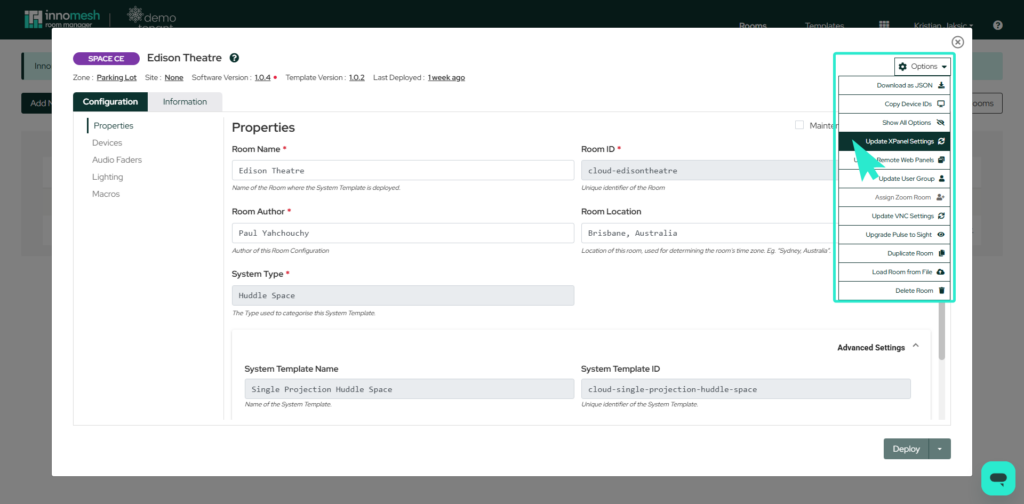
Clicking on “Update XPanel Settings” will open a pop up window allowing edits to the XPanel configurations, as shown below.
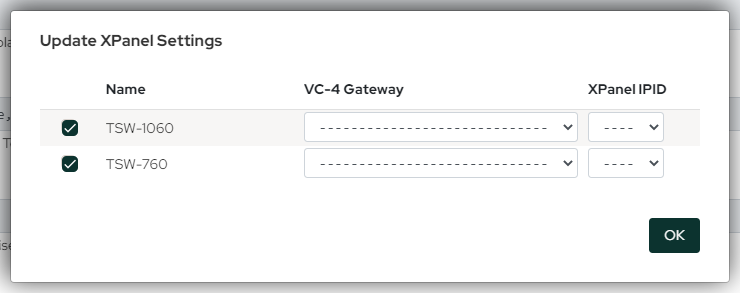
On this window, XPanels can be set up.
Update Remote Web Panels
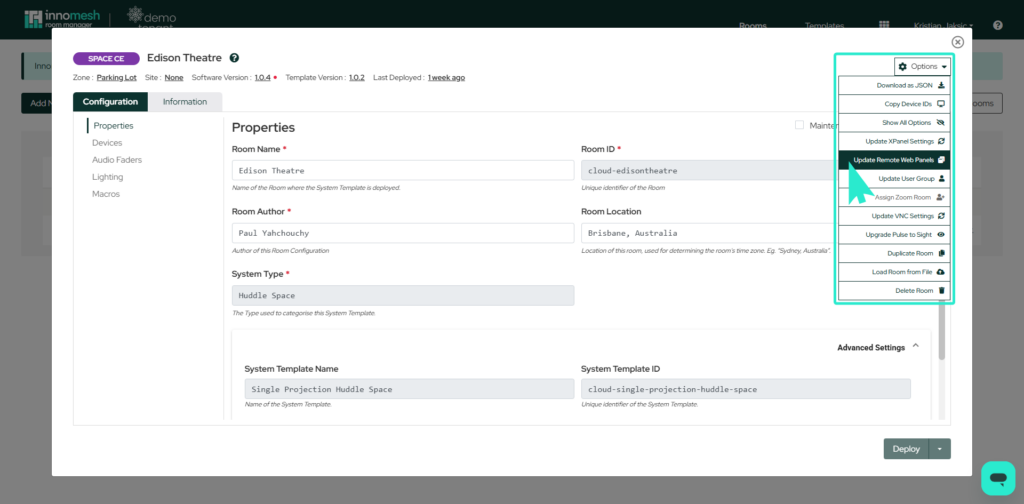
Clicking on “Update Remote Web Panels” will bring up a pop up window, as shown below.
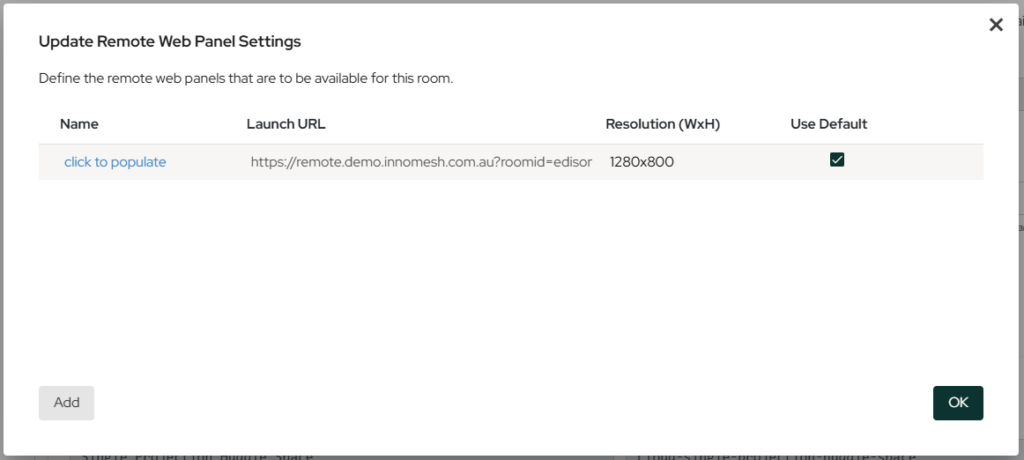
Clicking “Add” will create a new empty row and prompt you with “click to populate” under each subheading.
Update User Group
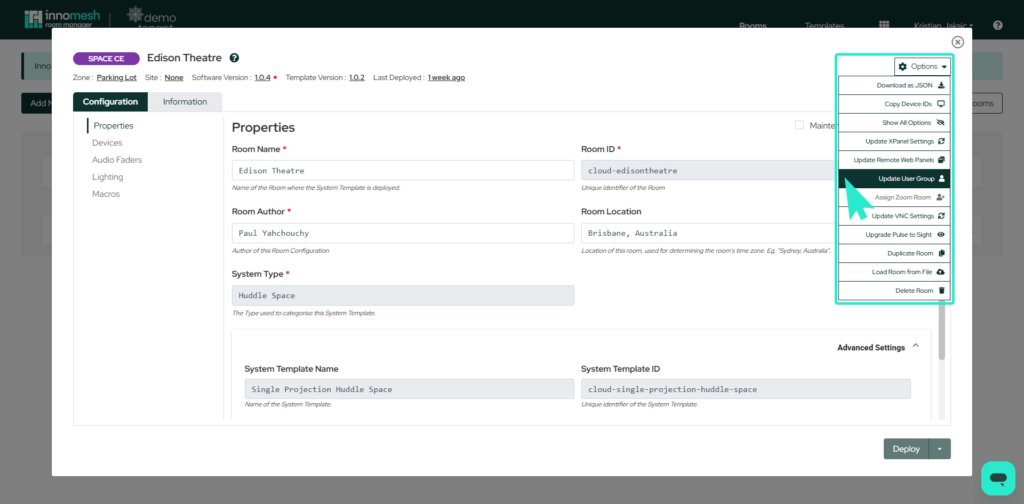
Clicking on update user group will open up a box called “User Group Assignment” containing a list of available user groups. This will restrict who can see and edit the room based on the user group to which they belong.
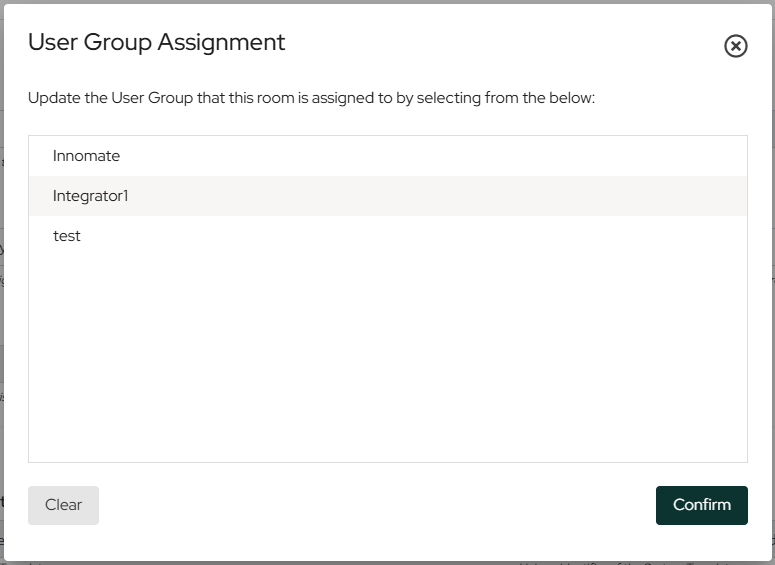
To change or select the user group for this room, select the user group from the list, Press confirm and then update the room to apply your changes.
Update VNC Settings
Clicking on “Update VNC Settings” opens a pop up window for defining the user interface, as shown below.
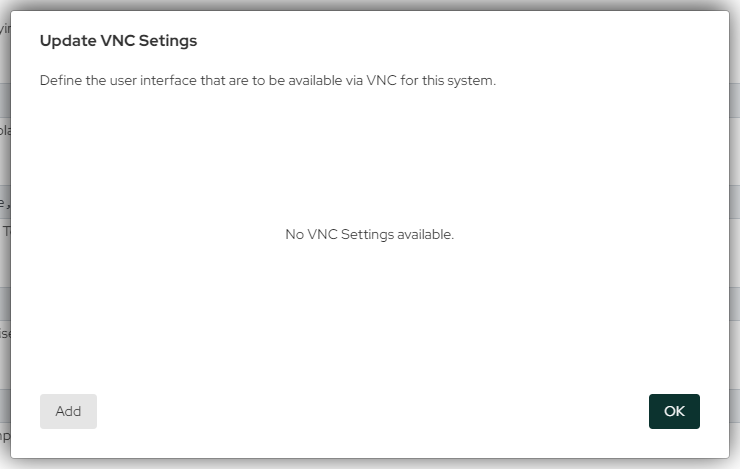
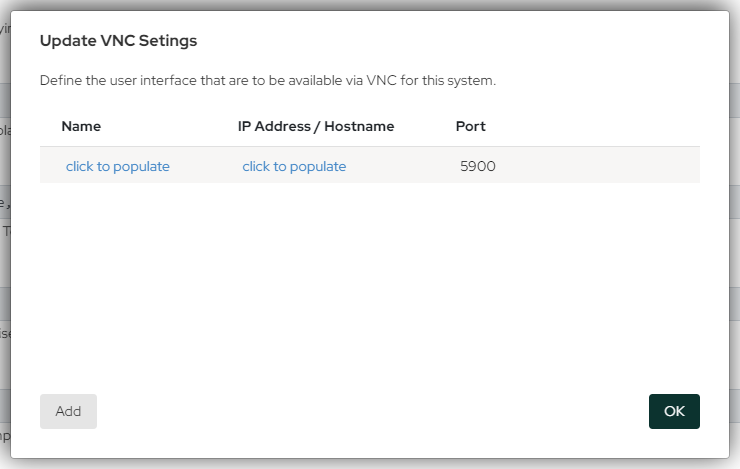
Click “Add” to configure a touch panel to the Space CE Room.
Upgrade Pulse to Sight

Clicking “Upgrade Pulse to Sight” will trigger two additional pop-up prompts labeled “Remove Sight” and “Set Sight Speed Tier.”
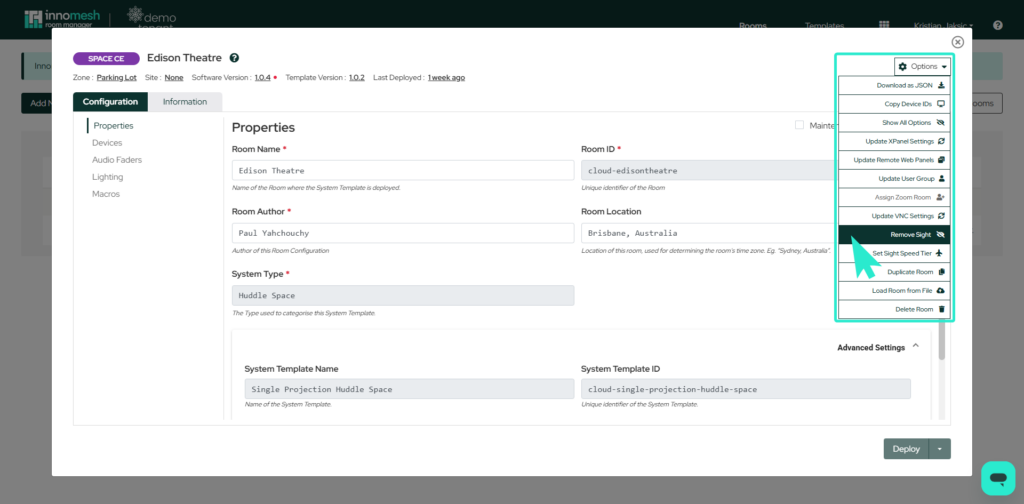
Clicking “Remove Sight”will deselect the prompt and return “Upgrade Pulse To Sight” prompt
Clicking “Set Sight Speed Tier” will increase the speed at which Sight sends queries.
Duplicate Room
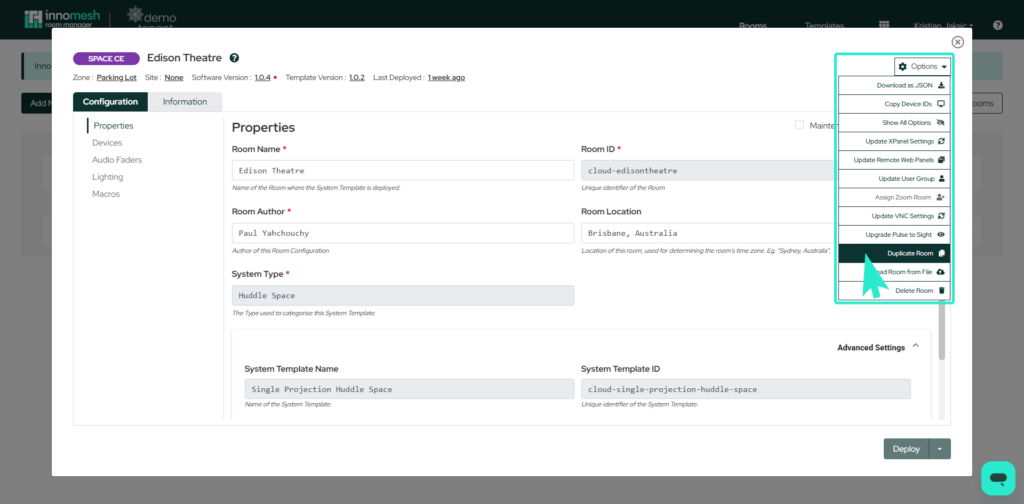
Clicking on “Duplicate Room” will duplicate the Space CE Room configuration, including Room Name, Room Repository Name, and IP addresses. After Innomesh loads, the duplicated Space CE Room configuration can be modified.
Click the “Create” button in the bottom right hand side to finish Space CE Room creation.
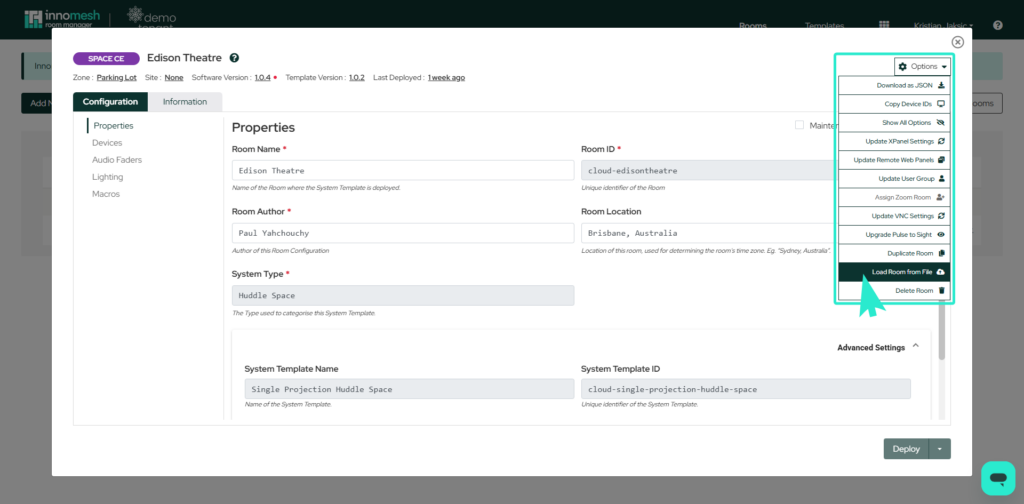
Load Room from File
This option enables users to upload a comprehensive room template as a JSON file.
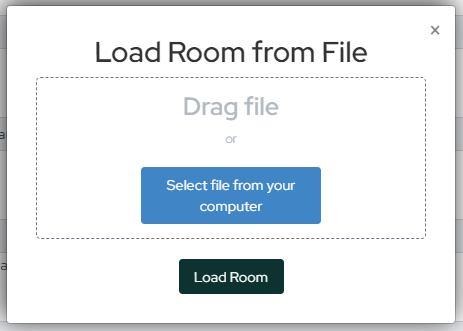
You can either drag the file from your local device into the dotted area pictured below or select “Select file from your computer” and browse to the file.
Clicking “Load Room from File” will pop up a window as shown below.
Click “Load Room” to upload the selected .json file
The template will now be filled with all of the data from the JSON file.
Delete Room
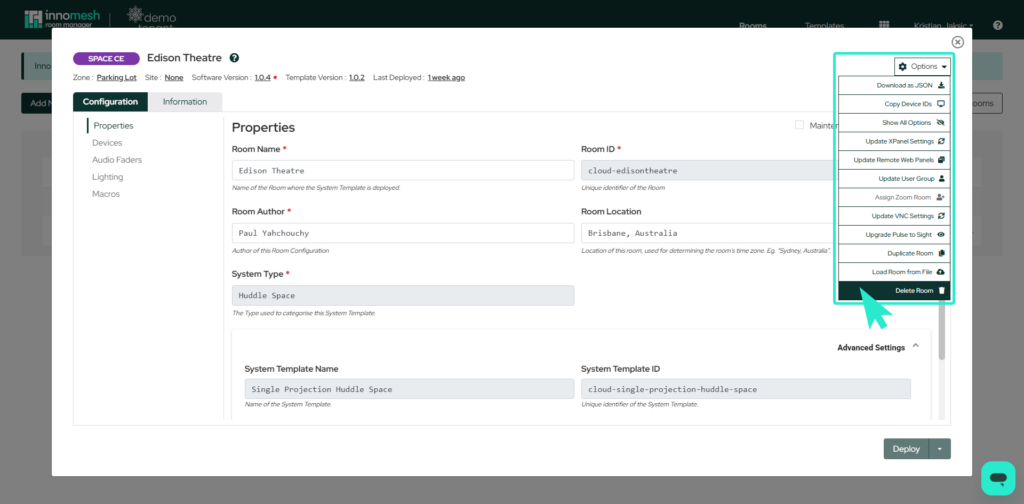
Clicking “Delete Room” will pop up a warning, as shown below.
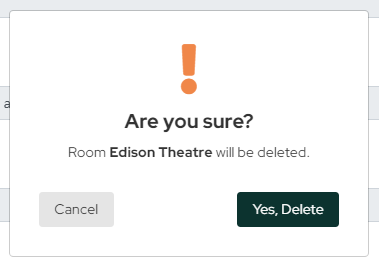
Proceeding with this option will permanently delete the Space CE Room. The pop up window is there to prevent accidently deleting the Space CE Room.